
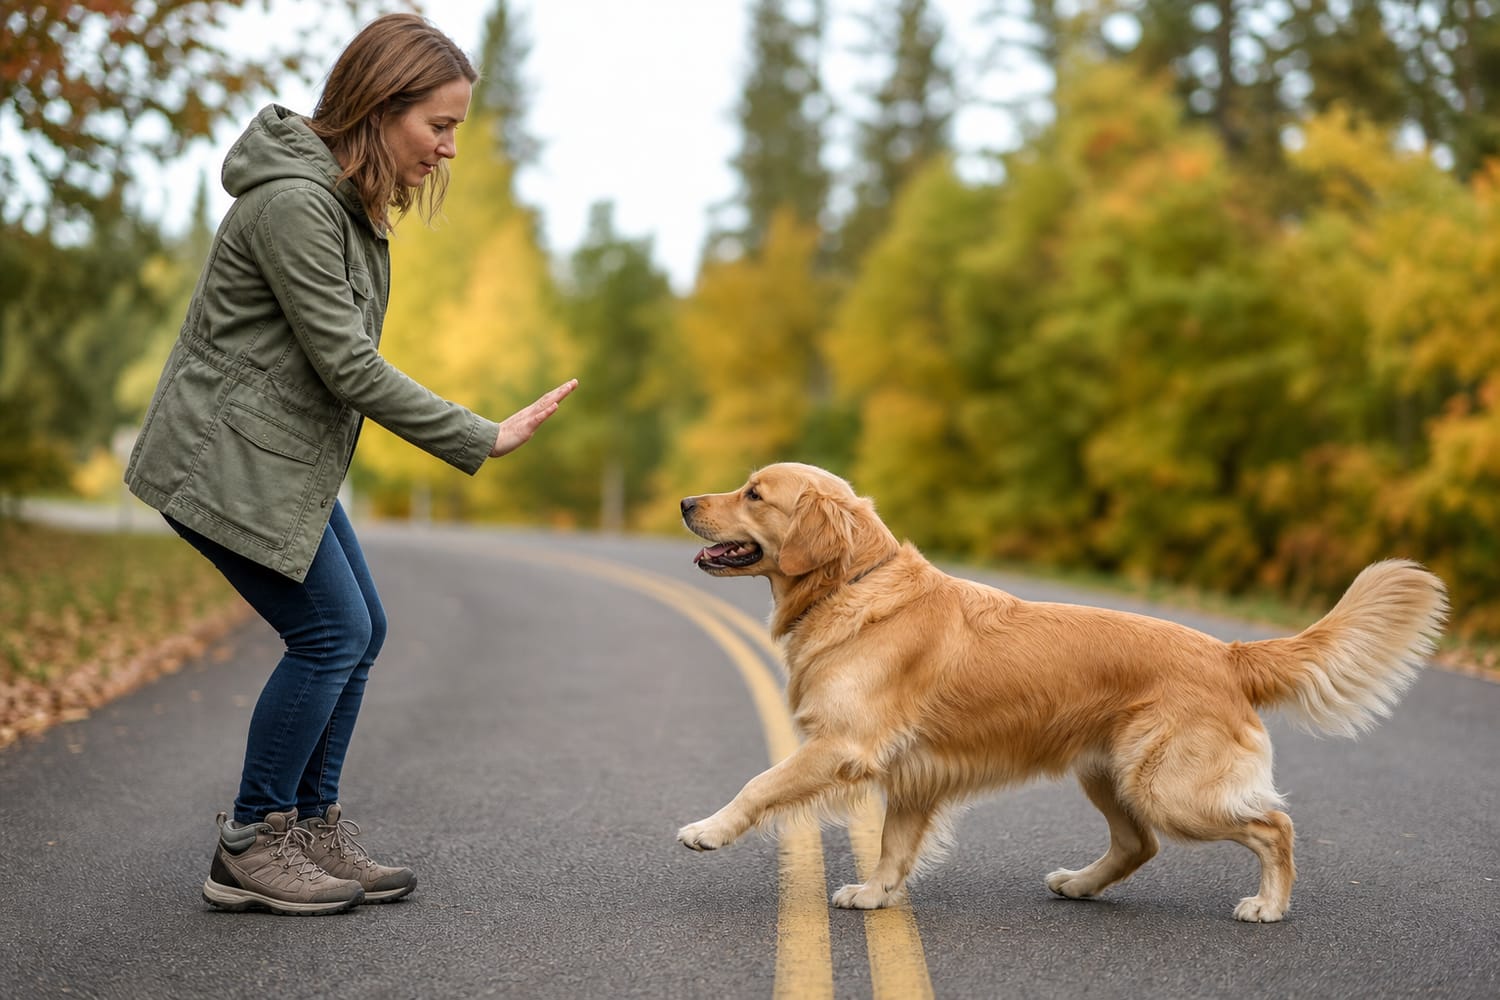
Why an Emergency Stop Cue Matters
Every dog lover knows the heart-stopping feeling: your dog spots a squirrel, a gate swings open, a leash slips, or a ball bounces toward the road. In those moments, even the most loving “Come!” can be difficult for a dog to hear—especially when excitement, instinct, or fear takes over.
That’s where an emergency stop cue can make all the difference.
An emergency stop cue is a special signal that tells your dog to immediately stop moving and pause, no matter where they are or what they are doing. Some people teach it as “Stop,” “Freeze,” “Wait,” or even a whistle cue. The word itself matters less than the meaning you build behind it: when I hear this, I stop right away, and something wonderful happens.
This cue is not meant to replace leashes, fences, supervision, or good safety habits. Instead, think of it as an extra layer of protection—a lifesaving communication tool that can help interrupt dangerous motion before your dog reaches trouble.
The best part? Teaching an emergency stop can be fun. It becomes a game of teamwork, timing, and trust. With patience and positive reinforcement, many dogs can learn to respond quickly and happily.
What an Emergency Stop Cue Should Look Like
Before you begin training, decide what behavior you want your dog to perform when they hear the cue. For most families, an emergency stop means one of three things:
- Your dog stops moving and stands still.
- Your dog stops and sits.
- Your dog stops and lies down.
Each option can work, but “stop and stand” is often easiest for dogs at first because it does not require an extra position change. However, a sit or down may be more stable once learned, especially for excitable dogs.
The goal is not perfection in the beginning. Your first goal is simply this: when your dog hears the cue, they interrupt forward movement and look to you for direction.
It’s important to keep expectations realistic. Dogs are living beings, not robots. A cue practiced only in the kitchen will not automatically work near traffic, wildlife, or other dogs. Emergency stop training needs to be built gradually, starting in calm places and slowly moving into more distracting environments.
Also, this cue should always be trained with kindness. Fear-based methods can create hesitation, confusion, or avoidance. In a real emergency, you want your dog to trust your voice—not worry about what might happen next.
Gather Your Training Tools
You do not need fancy equipment to teach an emergency stop cue. A few simple tools will help:
- Small, high-value treats such as chicken, cheese, or soft training treats
- A safe, low-distraction space
- A regular leash
- A long line, usually 10 to 30 feet, for later practice
- A toy, if your dog is toy-motivated
- A cheerful voice and plenty of patience
High-value rewards matter because this cue is important. If you want your dog to stop chasing something exciting, your reinforcement history needs to be powerful. Dry biscuits may work indoors, but outside, many dogs need something more memorable.
Keep sessions short—about three to five minutes at a time. Dogs learn best when training feels like a game. A few happy repetitions are more useful than a long session that ends in frustration.
Step One: Build the Meaning Indoors
Start in a quiet room with your dog nearby. Say your chosen cue once—“Stop!” or “Freeze!”—in a clear, upbeat voice. The moment your dog pauses, turns their head, or even slightly checks in with you, mark the behavior with “Yes!” or a clicker, then give a treat.
At this stage, you are not asking for a dramatic halt from full speed. You are simply teaching: this sound predicts a reward when I pause and pay attention.
Practice this several times while your dog is already calm. Walk around the room slowly. As your dog follows or moves with you, say the cue. When they stop or pause, reward immediately.
If your dog does not stop, avoid repeating the cue over and over. Instead, make the setup easier. Use a smaller space, move more slowly, or lure them gently with a treat after saying the cue. Then reward when they pause.
Your timing is key. Reward the stop, not the movement after it. If you say “Stop,” your dog stops, then walks toward you and gets the treat, they may think the cue means “come closer.” That can still be useful, but it is not the same as an emergency stop. To keep the meaning clear, deliver the treat to your dog where they stopped whenever possible.
Step Two: Add Motion and Distance
Once your dog understands the cue indoors, begin adding a little movement. Walk with your dog beside you, say the cue, and stop your own body at the same time. Many dogs naturally mirror our motion, so your physical stop helps them understand.
When your dog stops, praise warmly and reward. Then release them with a word such as “Okay!” or “Let’s go!” This release cue teaches your dog to hold the pause until you give the next instruction.
Gradually make the exercise more dynamic. Try these simple variations:
- Walk a few steps, cue “Stop,” reward.
- Toss a treat a short distance, let your dog move toward it, cue “Stop,” then reward with an even better treat.
- Play gently with a toy, cue “Stop,” reward the pause, then restart the game.
- Practice in different rooms so your dog learns the cue is not location-specific.
If your dog struggles when moving faster, slow down. Training should progress in tiny steps. A reliable emergency stop is built like a strong bridge—one solid piece at a time.
Step Three: Practice Outside Safely
When your dog is doing well indoors, move to a secure outdoor area such as a fenced yard or quiet garden. Outdoor smells, sounds, and movement make training harder, so lower your expectations at first.
Begin with your dog on a regular leash. Walk together, say the cue, stop your body, and reward when your dog pauses. Keep your voice positive and clear.
After several successful sessions, you can introduce a long line in a safe open space. A long line gives your dog room to move while still keeping them protected. Let your dog wander a short distance away. Say the emergency stop cue once. If they stop, praise and walk to them with a reward. If they do not stop, gently prevent further movement with the line, then make the next repetition easier.
Never use the long line to jerk your dog backward. The line is a safety tool, not a correction tool. Your dog should learn that stopping is rewarding, not scary.
As your dog improves, practice at different distances. Start with a few feet, then gradually increase. Add mild distractions, such as leaves, toys, or a family member walking nearby. Keep the challenge level manageable so your dog can succeed often.
Step Four: Make the Cue Powerful
An emergency cue should have a strong reward history. That means your dog should think, “When I hear that word, amazing things happen!”
Use rewards your dog truly loves. For some dogs, that is roast chicken. For others, it is a tennis ball, a tug toy, or permission to run again. The best reward depends on the dog.
One excellent strategy is to reward the stop, then release your dog back to what they were doing when it is safe. For example, if your dog stops while trotting toward a toy, reward them, then say “Okay!” and let them go get the toy. This teaches that stopping does not always end the fun. In fact, stopping can make the fun continue.
That lesson is incredibly valuable. If dogs learn that responding to you always means the adventure is over, they may hesitate. But if they learn that checking in often leads to good things, they become more willing partners.
Keep the cue special. Avoid using it casually when you do not need it. If you say “Stop” all day long with no reward or follow-through, the word may lose power. Use it thoughtfully and reinforce it generously.
Step Five: Add Real-Life Distractions Gradually
The biggest mistake people make is testing the emergency stop too soon in a high-stakes situation. A dog who can stop in the living room may not be ready to stop when a rabbit darts across a field.
Instead, create a distraction ladder. Start with easy distractions and slowly work up.
Your ladder might look like this:
- Quiet room indoors
- Backyard with no distractions
- Backyard with a toy on the ground
- Quiet sidewalk
- Park at a distance from people
- Park at a distance from dogs
- More active environments while on a long line
At each level, practice until your dog responds consistently before making it harder. If your dog fails several times, they are not being stubborn—they are telling you the situation is too difficult. Go back a step and rebuild confidence.
Distance is your friend. If your dog cannot stop near another dog, move farther away. If they cannot stop when a squirrel is close, practice where squirrels are visible but far enough away that your dog can still think.
Common Mistakes to Avoid
Even loving owners can accidentally make emergency stop training harder. Here are a few common pitfalls:
Repeating the cue too many times. If you say “Stop, stop, stop!” your dog may learn that the first cue is optional. Say it once, then help your dog succeed.
Training only when something scary is happening. Practice during calm, happy moments so your dog builds a positive association.
Using punishment after your dog stops. If your dog finally responds and then gets scolded, they may be less likely to stop next time. Always reward the response, even if it was not perfect.
Moving too quickly. Reliability takes repetition. Dogs need practice in many places, around many distractions.
Trusting the cue instead of using safety tools. Even a well-trained dog can make a mistake. Near roads, wildlife, cliffs, livestock, or other hazards, use leashes and secure spaces.
When to Ask for Professional Help
Some dogs find stopping especially difficult. This may be true for young puppies, adolescent dogs, high-drive breeds, fearful dogs, or dogs with a strong chase instinct. That does not mean they cannot learn—it simply means they may need a slower plan.
Consider working with a qualified positive-reinforcement trainer if your dog:
- Bolts through doors or gates
- Chases cars, bikes, wildlife, or livestock
- Becomes overly excited outdoors
- Cannot focus around distractions
- Has a history of running away
- Shows fear, reactivity, or aggression
A good trainer can help you create safe setups and tailor the cue to your dog’s personality. Training should feel encouraging for both of you.
A Lifesaving Cue Built on Love and Trust
Teaching an emergency stop cue is one of the most meaningful gifts you can give your dog. It is not just a trick. It is a safety skill, a communication tool, and a beautiful example of teamwork.
Every repetition says, “I will guide you.” Every reward says, “You can trust me.” Over time, your dog learns that listening to you is not about losing freedom—it is about staying safe enough to enjoy more of it.
Start small. Celebrate tiny wins. Practice in safe places. Reward generously. With consistency and kindness, that one simple cue may one day interrupt a dangerous dash, stop your dog at the edge of a road, or give you the precious second you need to protect your best friend.
And even if you never face that emergency, the training itself deepens your bond. Because at its heart, teaching an emergency stop is about connection: your voice, your dog’s trust, and the shared language that helps you explore the world together.